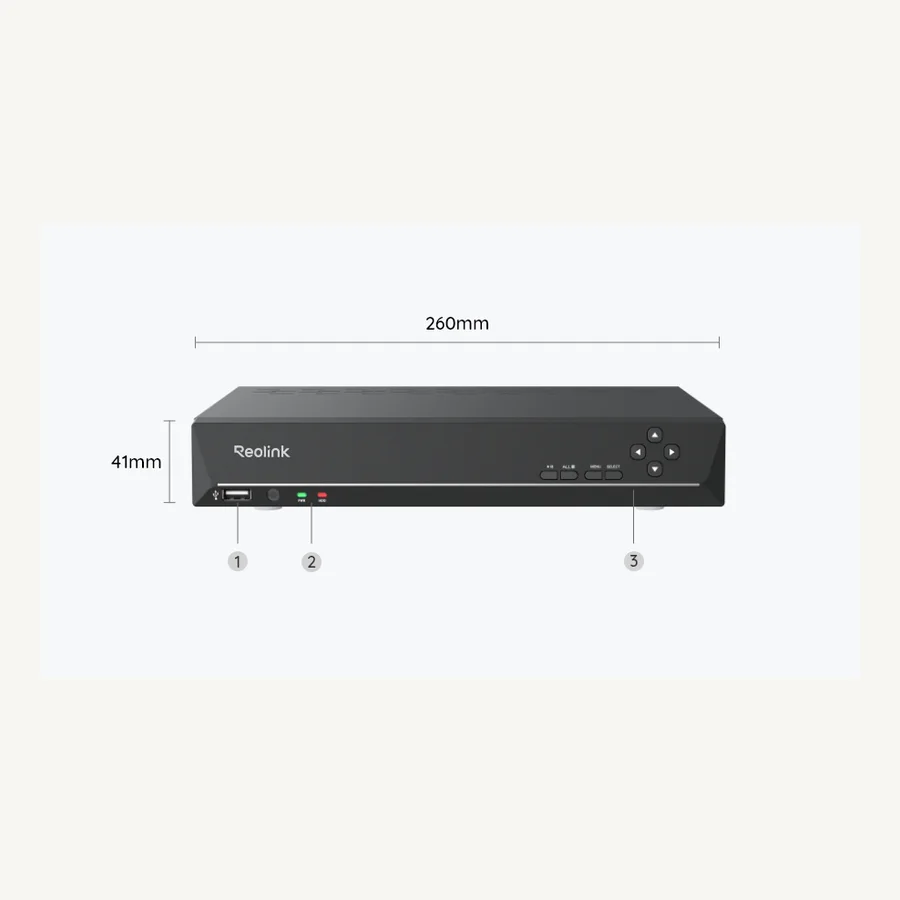
Quick answer: Connect a monitor and mouse to the NVR, connect its LAN or uplink port to the router by Ethernet, power it on, complete the setup wizard, create a strong administrator password, add compatible cameras, and verify recording. Standard Reolink NVR internet access uses Ethernet; a Wi-Fi NVR's wireless camera network is not a substitute for the router uplink.
This guide starts after the buying decision. If you have not chosen a recorder, compare RLN8-410, RLN16-410, RLN36, and RLN12W by PoE layout, included storage, expansion, and camera compatibility first.
What a Reolink NVR does
A network video recorder centralizes compatible camera live view, recording, playback, and storage. A PoE NVR can power cameras connected directly to its PoE ports. Plug-in Wi-Fi cameras may also record to a compatible NVR over the LAN. Battery-camera support is more limited and depends on current model and firmware compatibility.
| Storage path | Best for | Main limitation |
|---|---|---|
| microSD card | One or two standalone cameras | Storage remains at the camera |
| Home Hub | Smaller mixed systems and supported battery cameras | Compatibility and capacity vary |
| Reolink NVR | Multiple wired or plug-in cameras and continuous recording | Hardware revision, channel, drive, and camera support must match |
Connect the NVR correctly
- Place the recorder where it has ventilation and where its fan or drive noise is acceptable.
- Connect a compatible monitor by HDMI or VGA and attach the supplied USB mouse.
- Connect the NVR's LAN or uplink port to a LAN port on the router with Ethernet.
- Connect PoE cameras to numbered PoE ports when using direct camera wiring.
- Connect the power adapter and switch on the recorder.
- Wait for the local interface and setup wizard.
Do not connect the router to one of the numbered camera PoE ports unless the manual for that exact recorder explicitly says otherwise. The uplink and camera-side network serve different roles.
Complete initial setup
- Select the language, region, time zone, date, and display settings.
- Create a strong NVR administrator password and record it securely.
- Configure network settings; DHCP is the simplest starting point for most home networks.
- Initialize the included hard drive only when required and understand that formatting removes stored footage.
- Enable UID for straightforward remote App access if it fits your security policy.
- Review recording schedules, retention, overwrite behavior, and detection recording.
- Check for firmware updates only after stable network access is established.
Add cameras to the NVR
Directly connected Reolink PoE kit cameras are often discovered automatically. For cameras elsewhere on the LAN, open the NVR camera or channel menu, scan for devices, select a compatible camera, and enter that camera's credentials. The NVR administrator password and individual camera password are not necessarily the same.
If a camera reports authentication failure, verify which device created its password. An NVR may assign credentials to a directly connected camera. Hardware version, supported resolution, encoding, camera type, and firmware can also affect compatibility even when both products carry the Reolink brand.
View the NVR on a phone or PC
In the Reolink App, tap add device and scan the NVR QR code or enter its UID, then log in with the recorder credential. On Windows or Mac, install Reolink Client and add the NVR from the LAN or by UID. Once the NVR is added, its channels should appear under the recorder rather than requiring every directly connected camera to be shared individually.
Test playback as well as live view. A visible camera stream does not prove that the hard drive, schedule, and retention settings are working. See the Reolink PC and sharing guide for family access.
How to connect a Reolink NVR to Wi-Fi
The practical answer for the router connection is: use Ethernet. Reolink's network instructions tell users to connect the NVR uplink to the router's LAN port. Some Wi-Fi NVR products create a private wireless network for supported cameras, but that camera-side connection should not be confused with joining the home router over Wi-Fi.
If running Ethernet to the router is difficult, use a properly designed wired network extension rather than assuming a USB Wi-Fi adapter will work. Unsupported bridges can complicate discovery and remote access.
Factory reset a Reolink NVR
Use a reset only when password recovery or normal troubleshooting cannot solve the problem. Reolink's master hard-reset guide separates methods by recorder generation and channel count. Depending on the model, resetting can involve a physical control or a sequence performed with the case open. Follow the exact official video or article for the model and observe electrical safety.
- Back up important footage and record the model, hardware version, channels, network settings, and camera credentials.
- Keep the NVR powered only as directed by the model-specific procedure.
- Perform the documented reset sequence.
- Wait for the setup wizard, create a new password, and restore network and recording settings.
- Confirm every channel, schedule, and playback path.
Reolink says a hard reset does not erase recordings. However, do not choose hard-drive initialization or formatting during the new setup unless you intend to remove the recordings.
NVR setup troubleshooting
| Problem | Likely check | Action |
|---|---|---|
| No internet or remote view | Router cable is in the correct NVR uplink | Check router DHCP and UID status |
| Camera not found | Power, subnet, and recorder compatibility | Test camera on the LAN and update supported firmware |
| Authentication failed | Camera credential versus NVR credential | Enter the camera's actual administrator password |
| Live view works but no recording | Drive status and schedule | Verify healthy storage, recording mode, and overwrite settings |
| Wrong reset instructions | Hardware and UI version | Use Reolink's exact model branch before opening the case |
Frequently asked questions
What is a Reolink NVR?
A Reolink network video recorder centralizes compatible camera live view, recording, playback, and storage. PoE NVR models can also power directly connected PoE cameras through their camera ports.
How do I connect a Reolink NVR to the internet?
Connect the NVR's LAN or uplink port to a LAN port on the router with Ethernet. The camera PoE ports are for compatible cameras and should not be used as the router uplink.
Can a Reolink NVR connect to Wi-Fi?
Use Ethernet between the standard Reolink NVR uplink and the router. A Wi-Fi NVR may create a wireless network for compatible cameras, but that does not mean its router uplink should be configured like a Wi-Fi camera.
Does factory resetting a Reolink NVR erase recordings?
Reolink states that hard resetting a device does not erase recordings, but it restores settings and requires setup again. Back up critical footage before resetting and avoid initializing or formatting the hard drive unless intended.