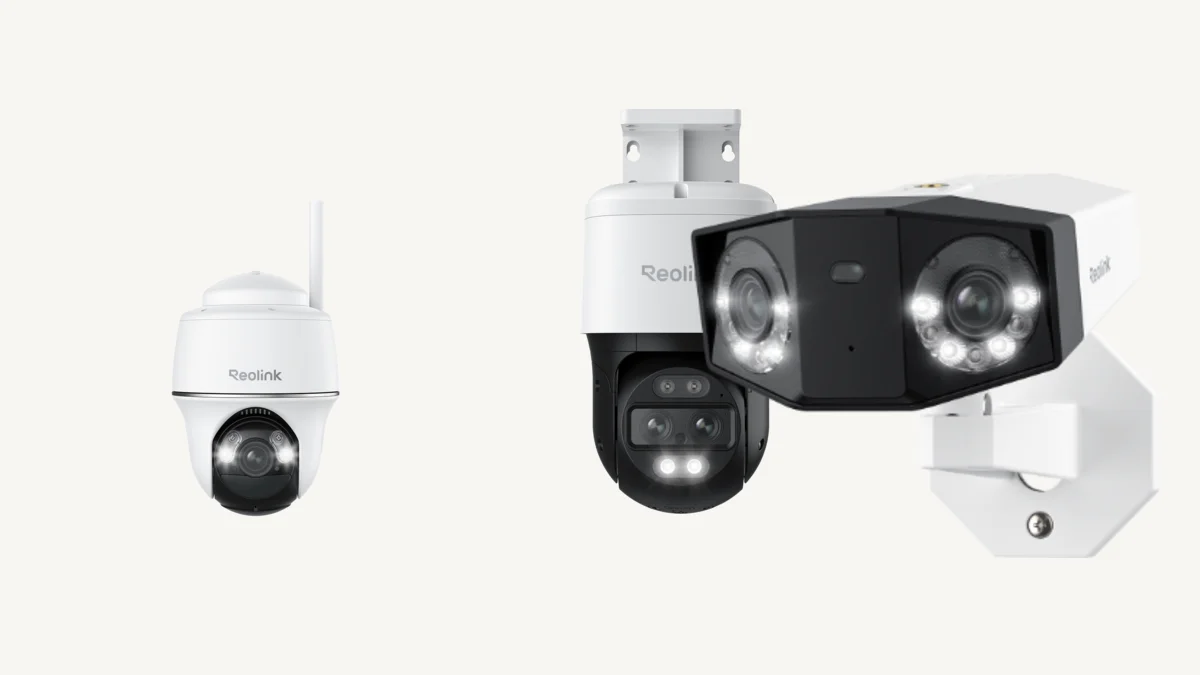
Quick answer: Install the current Reolink App, power the camera near its intended router or recorder, tap the add-device button, and scan the QR code on the camera. Then follow the branch for your model: battery and Wi-Fi cameras without a LAN port receive Wi-Fi details during setup; some Wi-Fi cameras with a LAN port can use Ethernet first; PoE cameras require Ethernet; and 4G cameras use a compatible SIM rather than home Wi-Fi.
Identify the camera before setup
| Camera type | Network path | Typical setup requirement |
|---|---|---|
| Battery Wi-Fi camera | Wi-Fi entered during initialization | Charged battery, phone, app, router password |
| E1 or other Wi-Fi camera without LAN | Phone displays a QR code for the camera to scan | Correct supported Wi-Fi band and close router placement |
| Plug-in Wi-Fi camera with LAN port | Direct Wi-Fi setup or temporary Ethernet, depending on model | Power adapter and possibly a network cable |
| PoE camera | Ethernet only | PoE NVR, switch, or injector and a network path |
| 4G LTE camera | Cellular SIM | Compatible activated SIM and mobile data coverage |
What you need before starting
- The model name, UID or QR code, and hardware label.
- The latest Reolink App on a supported phone.
- A strong, known-good network close to the camera during initialization.
- The exact Wi-Fi password, including capitalization.
- A unique device password you can store securely.
- A microSD card, Home Hub, or NVR plan if you want recording immediately.
Complete software setup before permanent physical installation. It is much easier to fix a Wi-Fi, firmware, or password problem while the camera is on a desk than after it is mounted under an eave.
Set up a Wi-Fi camera without a LAN port
- Power the camera and keep it near the router.
- Open the Reolink App, tap the add-device icon, and scan the camera's QR code.
- Select the option indicating that Wi-Fi is not configured.
- Confirm the camera's voice prompt or setup tone.
- Enter the correct wireless-network name and password.
- Let the App generate the setup QR code, then hold the phone roughly 8 inches from the lens so the camera can scan it.
- Wait for the successful connection prompt.
- Create the device password, name the camera, and finish initialization.
Wi-Fi-band support is model-specific. Reolink's current instructions say the E1 and Lumus use 2.4 GHz, while E1 Pro and E1 Zoom can use 2.4 or 5 GHz. Check the exact product rather than assuming every E1-family model behaves alike.
Set up a Wi-Fi camera with a LAN port
Some plug-in Wi-Fi cameras support direct wireless onboarding, while others can be initialized more reliably with a temporary Ethernet cable. Connect the camera to the router, add it in the App or Client, create its password, then open the camera's network settings and select the intended Wi-Fi network. Confirm that the camera is reachable wirelessly before removing Ethernet.
If it disappears after the cable is removed, reconnect Ethernet and verify the SSID, password, supported band, and signal strength. Avoid permanently mounting the camera at the edge of Wi-Fi coverage based only on a successful desk test.
Set up a Reolink PoE camera
A PoE camera needs Ethernet for data and normally receives power through that cable. Connect it to a compatible Reolink NVR PoE port or to a PoE switch or injector that reaches the same network as the phone or PC. Add the camera through the App or Reolink Client, initialize it, and verify the live stream and recording destination.
Do not search for a Wi-Fi menu on a PoE-only model. If your goal is to use a recorder, see how to set up a Reolink NVR.
Connect an existing Reolink camera to a phone
If the camera is already configured, install the App on the new phone, tap add device, and scan the device QR code or enter its UID. Select the option indicating that Wi-Fi is already configured, then enter the existing device login password. On the same LAN, the App may also discover supported devices automatically.
For a family member, use Reolink's sharing feature instead of casually distributing the main administrator password. Our PC viewing and family sharing guide explains the permission differences.
Update firmware after setup
Once live view is stable, check Device Info for the model, hardware number, and current firmware. Reolink App or Client may offer an online update for supported products. When a manual file is required, download only the firmware matching the exact hardware version. Battery-camera firmware is normally delivered through the App rather than the public download center.
Keep power and network connectivity stable during an update. Do not install a file merely because the product name looks close; hardware revisions can require different firmware.
Fix common setup problems
| Symptom | Check first | Next action |
|---|---|---|
| Camera cannot scan the phone QR code | Screen brightness, lens film, glare, and distance | Hold the code flat about 8 inches away and adjust slowly |
| Router connection fails | Password and supported 2.4/5 GHz band | Move closer and retry on a compatible SSID |
| Camera works on LAN but not remotely | Internet access and UID status | Test the phone on cellular data and review router isolation |
| Wi-Fi camera fails after Ethernet removal | Saved SSID and signal strength | Reconnect Ethernet and save wireless settings again |
| Device password is unknown | Whether another admin has the credential | Use the correct factory-reset procedure if recovery is impossible |
Frequently asked questions
How do I connect a Reolink camera to my phone?
Install the current Reolink App, tap the add-device button, scan the camera's QR code or enter its UID, and follow the initialization prompts. The camera's network connection must be configured using the path appropriate to its model.
How do I connect a Reolink camera to Wi-Fi?
Battery cameras and Wi-Fi cameras without a LAN port normally receive Wi-Fi details during QR-code setup. Some plug-in Wi-Fi cameras with a LAN port can be connected by Ethernet first and then given the wireless network credentials.
Why will my Reolink camera not connect to Wi-Fi?
Common causes include an incorrect password, an unsupported Wi-Fi band, poor signal, network isolation, or scanning the phone's setup QR code at the wrong distance. Check whether the exact camera supports 2.4 GHz only or both 2.4 and 5 GHz.
Can I connect a Reolink PoE camera to Wi-Fi?
A PoE-only camera requires Ethernet for its network connection. Connect it to a compatible PoE NVR, switch, or injector and LAN path; a Wi-Fi setup flow does not convert a PoE-only model into a wireless camera.