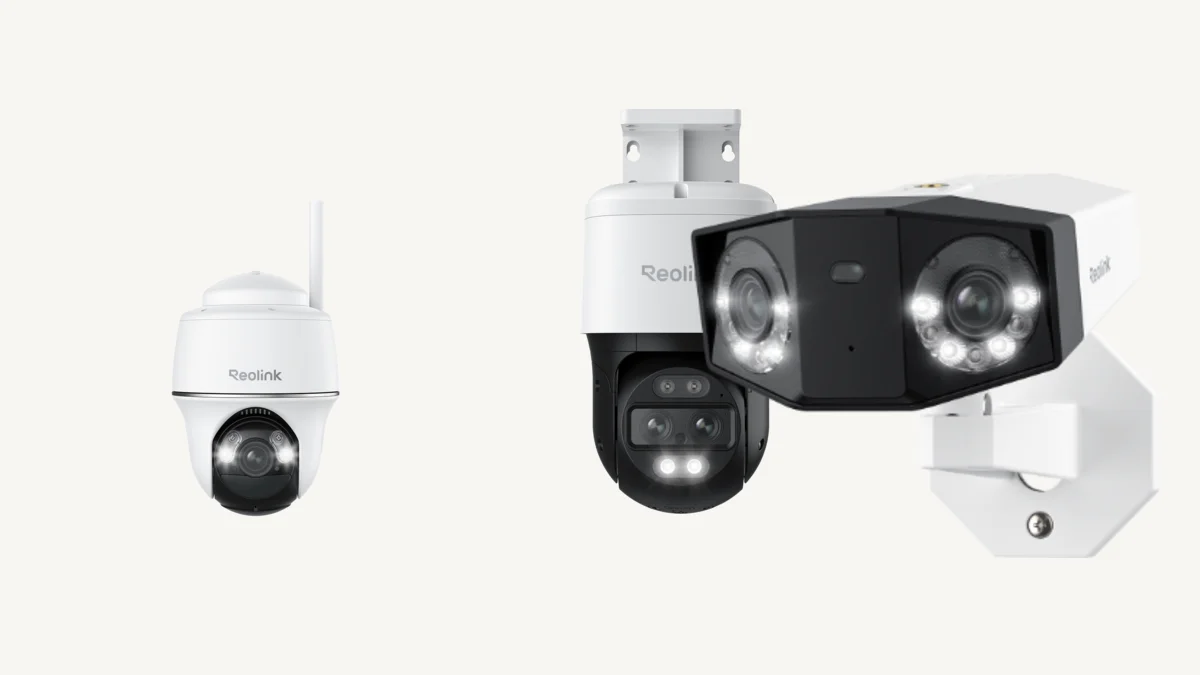
Quick answer: Keep the camera powered, identify its exact family, then use that family's reset control. Many Reolink bullet and dome cameras reset when their recessed button is held for about 10 seconds, but that is not a universal instruction. E1, Argus, Duo, TrackMix, Lumus, fisheye, and doorbell products have separate procedures.
A factory reset is appropriate when you have forgotten the device password, moved the camera to a new network and cannot reconnect it, or troubleshooting has failed. Try a normal reboot first when the camera is only temporarily offline; a reset removes configuration and creates more work.
Before you reset the camera
- Read the model and hardware version from the camera label or Device Info screen.
- Confirm that the power source is stable and that you can reach the reset control safely.
- Record the Wi-Fi name, recording schedule, detection zones, notification settings, and any NVR or Home Hub relationship you will need to recreate.
- Check important recordings before proceeding. Reolink says a hard reset does not erase recordings, but a separate backup is sensible when footage matters.
- Do not confuse the microSD slot, speaker opening, or mounting-release hole with the reset control.
Choose the correct reset path
| Device family | Typical reset control | Important distinction |
|---|---|---|
| Most wired bullet and dome cameras | Recessed button on a cable tail or camera body | Excludes several special families listed below |
| E1 indoor and E1 Outdoor families | Model-specific reset hole or button | Location and hold sequence vary by E1 design |
| Argus and other battery cameras | Dedicated reset hole or multi-function control | Power state matters; use the exact series instructions |
| Duo and TrackMix | Series-specific recessed control | Do not apply the generic bullet-camera procedure blindly |
| Video Doorbell WiFi or PoE | Reset hole pressed while powered | Listen for the confirmation tone |
| Battery Doorbell or Doorbell 2nd Gen | Power/reset button | Reolink specifies three presses while the device is on |
Reset most wired bullet or dome cameras
For supported wired bullet and dome models, power the camera and locate the reset button, commonly on the split cable. Press and hold it for about 10 seconds until the device indicates a reset or restarts. Release the button and allow the camera to boot fully before beginning initialization.
This generic path does not cover battery cameras, E1 products, FE-P or FE-W, Video Doorbells, Lumus, Duo, or TrackMix. If your model is in an excluded family, follow Reolink's model-specific article linked in the source notes.
Reset E1, Argus, Duo, and TrackMix cameras
These families use different body designs and button locations, so first open Reolink's master hard-reset page and select the matching series. Do not infer the reset hole from a similar-looking camera. For battery models, charge the camera and make sure it is on before starting. For motorized E1 cameras, the control can sit beneath the lens area or on the body depending on the version.
Duo and TrackMix cameras also have dedicated series instructions. Their dual-lens or pan-and-tilt housings may hide controls differently from a standard bullet camera. If the official page lists multiple hardware forms, match the product photos and model label before pressing anything.
Reset a Reolink doorbell
For Reolink Video Doorbell WiFi and PoE models, leave the unit powered and press the reset control with a paperclip until you hear the short confirmation music. For the Battery Doorbell and current 2nd Gen doorbell, Reolink says the power and reset functions share one physical button: while the doorbell is on, press the button three times in succession and wait for the tone.
For installation, bracket removal, and model-specific reset context, use our Reolink doorbell installation and removal guide.
Set the camera up again
- Open the current Reolink App and tap the add-device button.
- Scan the device QR code or enter its UID when that method is supported.
- Select the correct network state and follow the model-specific prompts.
- Create a new, unique device password and save it securely.
- Reconnect Wi-Fi if applicable, then restore recording, detection, notification, time-zone, and sharing settings.
- Verify live view and playback locally before testing remote access.
- Check firmware only after the camera has stable power and network connectivity.
See how to set up a Reolink camera for the network branches after a reset.
If the reset does not work
- Confirm that the device remained powered for the entire button hold.
- Make sure you used the reset control, not the microSD-card opening or doorbell release hole.
- Try the exact timing and button sequence shown for the model family.
- Allow enough time for a complete reboot before repeating the process.
- If the camera is connected through an NVR, remember that the recorder may have assigned credentials to it.
- Use Reolink's official support request when the reset control is damaged, inaccessible, or absent from the documented location.
Frequently asked questions
How do I factory reset a Reolink camera?
Keep the camera powered, locate the model-specific reset control, and use the procedure Reolink lists for that camera family. Many wired bullet and dome models use a recessed button held for about 10 seconds, but E1, Argus, Duo, TrackMix, and doorbell models can differ.
Does resetting a Reolink camera delete recordings?
Reolink says a hard reset restores device settings but does not erase existing recordings. Still verify footage on the microSD card, NVR, Home Hub, or FTP server before resetting if the recordings matter.
What happens after a Reolink camera reset?
The camera returns to factory-default settings and must be initialized again. Reconnect it through the Reolink App or Client, create a new device password, restore Wi-Fi where applicable, and review recording and notification settings.
Can I reset a Reolink camera without the password?
A physical factory reset is the usual recovery path when the device password is unavailable, provided you can reach the correct reset control and power the camera. The reset method depends on the exact model family.