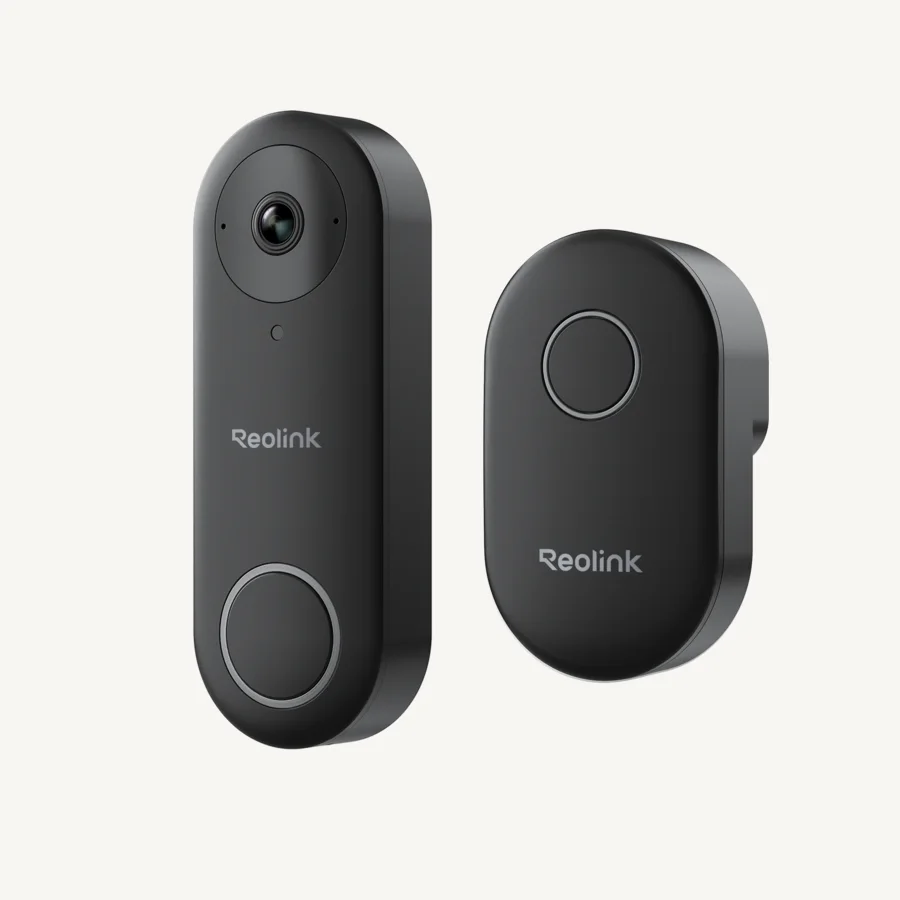
Quick answer: Identify whether the doorbell is Wi-Fi, PoE, or battery-powered; initialize it before mounting; confirm power and chime compatibility; test the camera angle with the wedge if needed; secure the mounting plate; connect only the wiring appropriate to that model; and verify live view, recording, notifications, and chime operation before finishing.
Choose the correct doorbell path
| Doorbell type | Power and network | Installation focus |
|---|---|---|
| Video Doorbell WiFi | Compatible wired power; Wi-Fi network | Transformer, Wi-Fi signal, chime version, wedge |
| Video Doorbell PoE | PoE Ethernet | Cable route, PoE supply, weatherproof network connection |
| Video Doorbell Battery | Internal battery; optional compatible existing wiring | Charge first, bracket release, chime choice, recharge access |
| Doorbell with solar charger | Battery plus dedicated solar accessory | Sun exposure, dedicated bracket, removal direction |
Before drilling or disconnecting wires
- Set up the doorbell near the router, Home Hub, or NVR and verify live view.
- Install the microSD card before mounting if the design makes the slot hard to reach.
- Check the existing transformer and chime against the manual for the exact doorbell version.
- Use live view to test mounting height, visitor framing, package area, glare, and night lighting.
- Choose the flat plate or wedge and mark the holes with the supplied template.
- Turn off circuit power before removing an existing wired button.
Install a Wi-Fi or PoE Reolink doorbell
For a Wi-Fi doorbell, verify compatible low-voltage doorbell power and stable Wi-Fi at the final location. For a PoE doorbell, run Ethernet from a compatible PoE source and protect the cable path and termination from weather. Mount the bracket or wedge level, connect the appropriate terminals or cable, attach the doorbell to the plate, and restore power.
Do not assume that the Wi-Fi and PoE versions use the same chime or wiring behavior merely because their housings look similar. Confirm the package contents, chime generation, and manual for the purchased model.
Install the Reolink Battery Doorbell
Fully charge and initialize the battery doorbell first. For a wire-free installation, mount the plate or optional wedge, then engage the doorbell with the bracket in the direction shown by Reolink. For connection to an existing wired chime, Reolink's current guide lists an 8-to-24-VAC, 50/60-Hz, 5VA-to-40VA transformer range for the documented battery model. Turn off power, follow the supplied jumper and terminal diagram, restore power, and run the App's existing-chime detection.
Battery operation changes maintenance even when existing wiring provides trickle charging. Keep the release access clear so the doorbell can be removed without damaging the bracket.
Remove the doorbell from its bracket
Use the release pin or tool in the designated release hole, then slide the doorbell in the documented direction to disengage it. Do not lever the housing away with a screwdriver. Battery and wired plates can differ, and the dedicated solar-charger bracket uses its own release direction; Reolink's current solar guide says to press the bottom release and slide the battery doorbell upward.
- Disable power first when wired conductors will be exposed.
- Support the doorbell with one hand so it cannot fall.
- Engage the correct release hole with the supplied tool.
- Slide rather than pry the doorbell off the mounting slots.
- Disconnect terminals only after the unit is free and the circuit is safe.
- Keep screws, wedge, release tool, and chime accessories together.
Reset the Reolink doorbell
For Reolink Video Doorbell WiFi and PoE products, keep the unit powered and press the reset control with a paperclip until the short confirmation music. For the Battery Doorbell and current Doorbell 2nd Gen, the physical power and reset control is shared: while the unit is on, press it three times in succession and listen for the tone.
A factory reset requires initialization again. Reconnect the doorbell, create a new password, restore detection zones and notification settings, then recheck the chime. For other camera types, see how to reset a Reolink camera.
Verify the finished installation
- Live view shows faces approaching the door and the package area you need.
- The mounting plate is secure and the release edge is accessible.
- The indoor chime or Reolink chime operates as intended.
- Motion detection does not trigger constantly on the street or neighboring property.
- Night view is not washed out by a nearby wall, trim, or porch light.
- Local recording and playback work without assuming a subscription.
- Remote live view works over cellular data, not only home Wi-Fi.
Frequently asked questions
How do I remove a Reolink doorbell from its bracket?
Use the release method supplied for the exact doorbell and bracket, typically engaging the release hole before sliding the doorbell off the plate. Battery, wired, and solar-charger brackets can use different movement directions, so do not pry the face away.
Can a Reolink battery doorbell use existing wiring?
Current Reolink battery-doorbell documentation supports either wire-free use or connection to a compatible existing chime and transformer. Reolink lists 8 to 24 VAC, 50/60 Hz, and 5VA to 40VA for the documented battery-doorbell wiring path.
How do I reset a Reolink Video Doorbell?
For Wi-Fi and PoE doorbells, press the reset control while the unit is powered until the confirmation sound. For the Battery Doorbell and current 2nd Gen model, Reolink specifies pressing the shared power/reset button three times while the doorbell is on.
Should I set up a Reolink doorbell before mounting it?
Yes. Initialize it near the router or recorder, update supported firmware, test live view and chime behavior, and confirm the intended framing before drilling or final wiring.