Quick answer: Complete camera setup first, test the exact mounting view and network, plan power and storage, mount into sound material with the correct anchors, weather-protect outdoor cable connections, leave access for reset and microSD service, then verify daytime, nighttime, recording, alerts, and remote view.
Plan before mounting
- Define the event you need to capture: faces at a door, vehicles entering a driveway, or activity across a yard.
- Choose the lens and camera type for that scene before selecting a mounting point.
- Check privacy boundaries and avoid unnecessary views into neighboring property.
- Confirm power, network, storage, and cable length with margin for service loops.
- Use temporary placement and live view to test framing at day and night.
- Keep the reset control, microSD slot, charging port, and mounting release serviceable.
Installation priorities by camera type
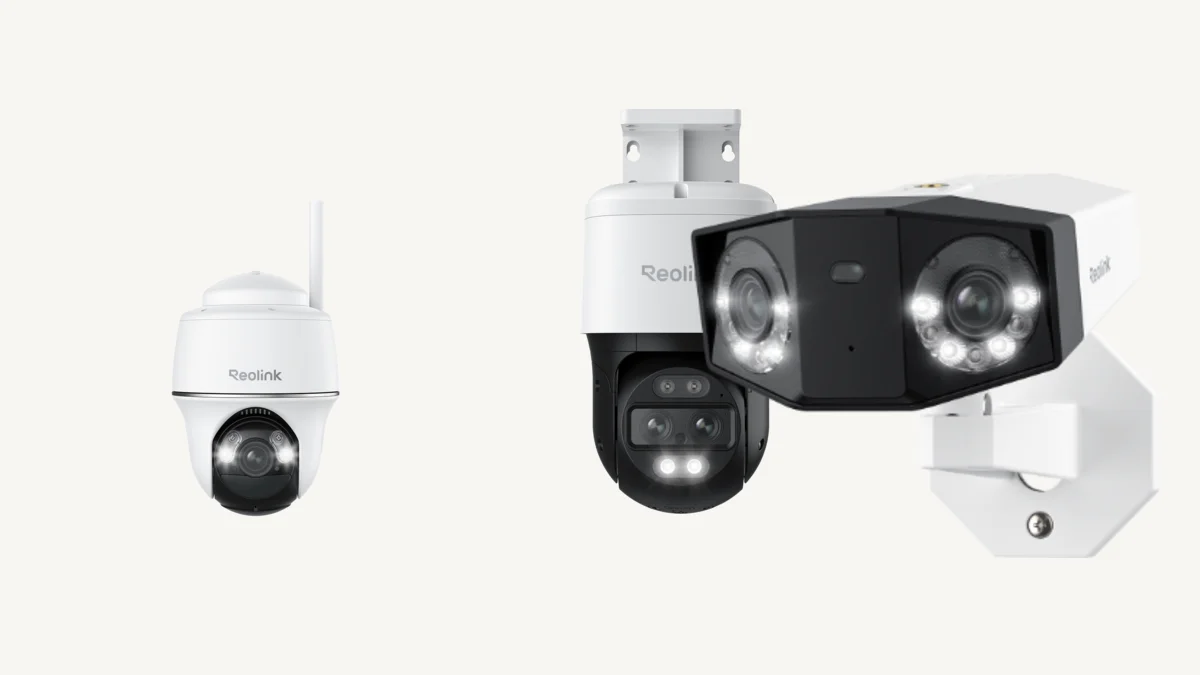
| Camera type | Prioritize | Common mistake |
|---|---|---|
| Plug-in Wi-Fi | Outlet protection and reliable signal | Testing only beside the router |
| Battery | Easy charging access and motion path | Expecting continuous recording like a wired camera |
| Solar battery | Direct sun and a weather-safe cable loop | Placing the panel under deep eaves or seasonal shade |
| PoE | Outdoor-rated cable path and compatible power source | Leaving Ethernet couplers exposed to water |
| Duo panoramic | Level horizontal framing and sufficient vertical coverage | Mounting too high and losing near-door detail |
| TrackMix or PTZ | Clear movement envelope and stable structure | Mounting beside obstacles that block tracking |
Install a Wi-Fi camera
Initialize it with the App and test it at the final location before drilling. Measure signal with the door or window closed and during normal network use. Avoid mounting directly against large metal surfaces or behind dense masonry that weakens Wi-Fi. Protect the power adapter and cable joins according to the product's indoor or outdoor rating.
If the intended location cannot maintain reliable Wi-Fi, choose PoE, improve the network deliberately, or reconsider the camera position. A stronger headline resolution does not compensate for missed connections.
Install a battery or solar camera
Charge and configure the camera before mounting. Aim across the expected approach path rather than directly at distant movement, because passive infrared detection and battery wake behavior depend on subject size, distance, temperature, and angle. Keep the camera reachable for charging even if a solar panel is used.
Place the solar panel where it receives sustained direct sunlight, considering seasonal tree cover and roof shadows. Create a drip loop so water falls away from the connector, secure excess cable, and do not stretch the lead tight.
Install a PoE camera
- Plan the Ethernet route from the compatible NVR, PoE switch, or injector.
- Use cable and connectors suitable for the route and exposure.
- Test the camera and cable before closing walls or climbing.
- Drill and seal the penetration correctly for the wall material.
- Use the supplied waterproof connector or an appropriate junction box outdoors.
- Mount the base into solid structure or correct anchors, then aim and lock the camera.
- Label the recorder or switch port for future service.
For a multi-camera recorder, complete Reolink NVR setup before assuming every camera is recording.
Choose a useful camera angle
Mounting higher can reduce tampering but also makes faces smaller and increases top-down views. For a driveway, capture vehicles at an angle that preserves identifying detail instead of pointing at headlights. For a doorway, prioritize the approach and face area. For pan-and-tilt models, leave clearance around the full movement range.
Check infrared reflections from walls, soffits, glass, and pale trim after dark. Move the camera or narrow the nearby surface in frame if night images wash out.
Final installation checklist
- Live view is level, focused, and covers the intended event.
- Night view is usable without nearby reflection or excessive backlight.
- Wi-Fi or Ethernet remains stable at the mounting point.
- Motion zones and sensitivity reduce irrelevant traffic and vegetation alerts.
- microSD, Home Hub, NVR, or FTP recording produces playable footage.
- Remote viewing works away from the home network.
- Weather seals, cable loops, screws, and anchors are secure.
- The camera can still be cleaned, reset, charged, or removed for service.
Frequently asked questions
Should I set up a Reolink camera before installing it?
Yes. Initialize the camera, test its network, update supported firmware, format or verify storage, and check the live view before permanent mounting.
How high should I install a Reolink camera?
There is no single height for every location. Mount high enough to resist casual tampering but low enough to preserve useful face and vehicle detail, then verify the actual scene in live view before drilling final holes.
Can I install a Reolink Wi-Fi camera far from the router?
Only after testing reliable signal at the exact mounting point with doors closed and normal household network load. A successful setup beside the router does not prove stable outdoor coverage.
Does a Reolink PoE camera need a power outlet?
A PoE camera can receive power and data through one Ethernet cable from a compatible PoE NVR, switch, or injector, so it generally does not need a power outlet at the camera location.